Crafting with salt dough is a delightful pastime that harkens back to simpler times, inviting both the young and young at heart to mold and create with their hands.
This versatile, non-toxic medium transforms simple ingredients—flour, salt, and water—into lasting treasures.
Yet, one frequently asked question echoes through the halls of craft forums and kitchen tables: “Can you microwave salt dough?”
In this comprehensive guide, we’ll unravel the mystery and provide you with all the knowledge you need to ensure your salt dough creations stand the test of time.
Key Points
- Microwaving Salt Dough: Rapid method, risks uneven drying, potential cracks.
- Optimal Power Setting: Low to medium wattage prevents overheating dough.
- Consistent Monitoring Required: Prevents burning, ensures even heat distribution, critical step.
- Thin Shapes Microwave Best: Uniform thickness facilitates consistent drying and reduces warping.
- Turn Pieces Frequently: Minimizes hotspots, promotes uniform drying, curtails cracking.
- Air-Drying Alternative: Patience yields the best results, preserves detail, and no warping.
Can You Microwave Salt Dough
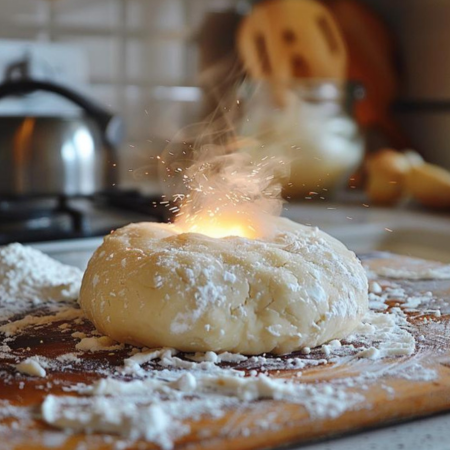
The short answer to whether salt dough can be microwaved is: yes, but with caution. Microwaving salt dough is a way to speed up the drying process; however, it requires careful attention.
Unlike air drying, which is even and allows moisture to escape slowly, microwaving can cause rapid moisture loss, potentially leading to cracking or warping.
To mitigate this, microwave the dough at a low power setting in 10 to 15-second intervals, checking the dough between intervals.
This method helps prevent overheating and allows you to monitor the dough closely.
Additionally, placing a cup of water in the microwave alongside the dough can help to evenly distribute the heat and reduce the chances of the dough drying out too quickly.
Remember that thickness and size are important factors. Thin, smaller pieces will require less time in the microwave, while thicker creations need more care and longer, gradual heating.
After microwaving, it’s best to allow the pieces to sit out in the air to thoroughly dry throughout, retaining their shape and detail.
Take note: microwaving will not produce the same results as oven-baking, which remains the preferred method for even, consistent drying of salt dough artifacts.
But if short on time or an oven is unavailable, the microwave method can be a viable alternative for the salt dough enthusiast willing to experiment.
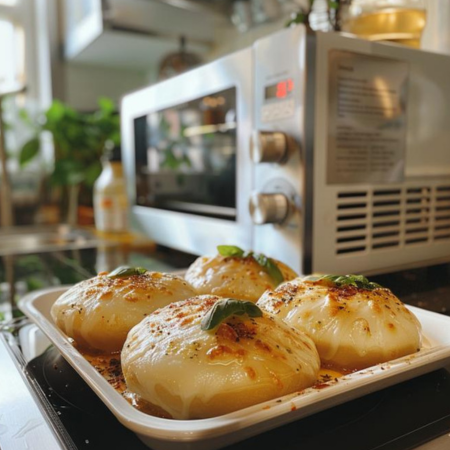
7 Proper Techniques For Microwaving Salt Dough
When microwaving salt dough, follow these seven techniques to achieve the best results:
- Start with a Moist Towel: Wrap your salt dough creation in a moist paper towel before microwaving. This helps to distribute the microwave’s heat more evenly and reduces drying out
- Low Power is Key: Always use the lowest power setting. High power may cook the dough too quickly, causing it to crack.
- Short Bursts: Heat in short 10-second bursts, checking the dough after each to ensure it’s not overheating.
- Rotate Regularly: Rotate your item a quarter turn after each burst of heat. This helps to avoid hotspots and ensures uniform drying.
- Use a Cup of Water: Place a cup of water in the microwave with your salt dough item. The evaporating water helps prevent the dough from losing moisture too rapidly.
- Thin Sections First: If your project has varying thicknesses, start with the thinnest sections. They will dry faster and are more susceptible to heat.
- Cooling Time: After microwaving, allow the salt dough to cool down at room temperature. Fast temperature changes can lead to cracks.
By adhering to these techniques, you’ll increase the likelihood of preserving the integrity of your salt dough creations when using a microwave.
Alternative Drying Methods For Salt Dough
While microwaving is a quick method to dry salt dough, there are other techniques to consider for those who have time and prefer a more traditional approach:
- Air Drying: Simply leave your creation in a well-ventilated area away from direct sunlight. It’s the most natural method, albeit time-consuming, taking a few days to a week.
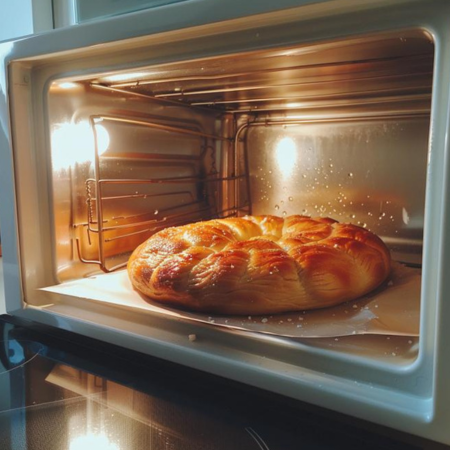
- Oven Baking: Preheat your oven to a low temperature (about 200°F or 90°C), and bake the salt dough for several hours until completely dry. This method provides a consistent drying environment.
- Heat Vent: During colder months, placing items near a radiator or heat vent can speed up drying. Ensure the dough is evenly exposed to the heat to avoid warping.
- Dehumidifier: Use a dehumidifier in the room where your salt dough items are drying. It helps remove moisture from the air, thus speeding up the air-drying process.
- Fan: A fan can help circulate air around your salt dough creation, promoting faster and more even drying than still air.
- Sunlight: On a warm, dry day, place creations outdoors. The sun’s warmth accelerates drying, but keep an eye on them to prevent cracking from too rapid drying.
Each method has its own set of advantages, suitable for different needs and preferences. Selecting the right one can affect the outcome and longevity of your crafted pieces.
Crafting Tips To Get The Best Results
To ensure the highest quality in your salt dough projects, abide by the following tips:
- Mix Evenly: Stir the salt dough mixture thoroughly to prevent air bubbles and ensure a smooth consistency.
- Roll Consistently: Aim for even thickness to prevent uneven drying and cracking; use rolling guides if necessary.
- Gradual Heat: When oven baking, increase temperature slowly to reduce potential warping or bubbling.
- Parchment Paper: Line your baking surface with parchment paper to prevent sticking and browning on the bottom of your creations.
- Sealing: Once completely dry, seal your salt dough items with a sealant such as Mod Podge to protect them from moisture.
- Painting: Use acrylic paints for a durable finish and bright colors; apply when the dough is thoroughly dried.
- Storage: Store any unused salt dough in an airtight container to maintain its malleability for future use.
- Practice Patience: Regardless of the drying method chosen, allowing extra time ensures thorough drying and longevity of your pieces.
Each tip contributes to the final quality of your salt dough crafts, with patience and attention to detail being the key ingredients.
Common Mistakes To Avoid With Salt Dough
Avoiding common pitfalls can significantly enhance the quality of your salt dough creations. Here are seven mistakes to dodge:
- Skipping Measurements: Eyeballing ingredients often leads to inconsistent dough texture. Always measure accurately.
- Rushing the Process: Don’t hasten the drying stage. Extended drying prevents dampness and mold.
- Neglecting Surfaces: Failing to use parchment can result in sticking and ruined shapes. Always line baking sheets.
- Ignoring Thickness: Too thin or thick pieces dry unevenly. Aim for uniform thickness across your creations.
- Impatient Painting: Painting on semi-wet dough causes colors to bleed. Wait until completely dry.
- Improper Sealing: Without sealing, items absorb moisture. Ensure a thorough sealant coating for preservation.
- Using Old Dough: Old or improperly stored dough loses quality. Use fresh dough or check stored dough before use.
Creative Ideas For Salt Dough Projects
Unleashing your creativity with salt dough is easy and rewarding.
Here are five imaginative project ideas to get you started:
- Handprint Keepsakes: Capture a moment in time with handprint impressions. Perfect for baby milestones or family memorabilia.
- Festive Ornaments: Create personalized ornaments for holidays. Decorate with glitter, paint, or beads for added sparkle.
- Customized Nameplates: Fashion nameplates for doors or desks. Include textured designs or embed small objects for uniqueness.
- Garden Markers: Press plant names into flattened dough, bake, and seal. These add charm to herb pots or vegetable patches.
- Jewelry Pieces: Form beads, pendants, and brooches. Adorn with paint or imprints, then string or pin for fashionable accessories.
With these ideas, your salt dough can transform into treasures that reflect your personal touch and artistic flair.
Preserving Your Salt Dough Creations
To ensure your salt dough creations stand the test of time,
consider the following preservation methods:
- Varnish Application: Apply clear varnish to protect your pieces from moisture and wear. It gives a glossy finish that enhances colors.
- Air-Tight Storage: Keep smaller, delicate items in air-tight containers. This prevents dust accumulation and moisture damage.
- Desiccant Use: Place a desiccant, like silica gel packets, alongside your creations to absorb excess moisture when storing.
- Avoid Direct Sunlight: Display or store your items away from direct sunlight to prevent fading and potential warping.
- Regular Dusting: Gently dust your salt dough items regularly. Soft brushes or microfiber cloths work best to keep them clean.
- Climate Control: Try to maintain a stable temperature and humidity level where your creations are displayed to prevent cracking.
Implementing these preventive measures can greatly extend the longevity of your salt dough art, helping it to remain vibrant and intact for years to come.
Conclusion
Embracing the art of salt dough creation enriches our lives with a touch of handmade charm.
Whether we choose to don our tables with quaint figurines, label our gardens with crafted markers, or accessorize with unique jewelry, these creations speak to the heart of tradition and ingenuity.
With proper care and preservation, these simple yet exquisite pieces can be cherished for many years, fostering a sense of accomplishment and nostalgia.
Let us continue cultivating this delightful craft and pass on the joy it brings from generation to generation.

- GE Profile Microwave Troubleshooting 4 Common Issues - September 3, 2024
- How to Microwave Toaster Strudel at Home - September 2, 2024
- How to Improve Microwave Exhaust Fan Efficiency? - September 1, 2024